Stock Making index
Part 1 Adjustable Comb Hardware
Let me start off by saying that
there’s more than one way to skin a cat, so you may find a better or
easier way to do what I’m about to demonstrate. This is how I make
inexpensive adjustable comb hardware for the stocks that I build. I’d
like to thank Paul Bishop and Dave G for the inspiration and guidance.
Here
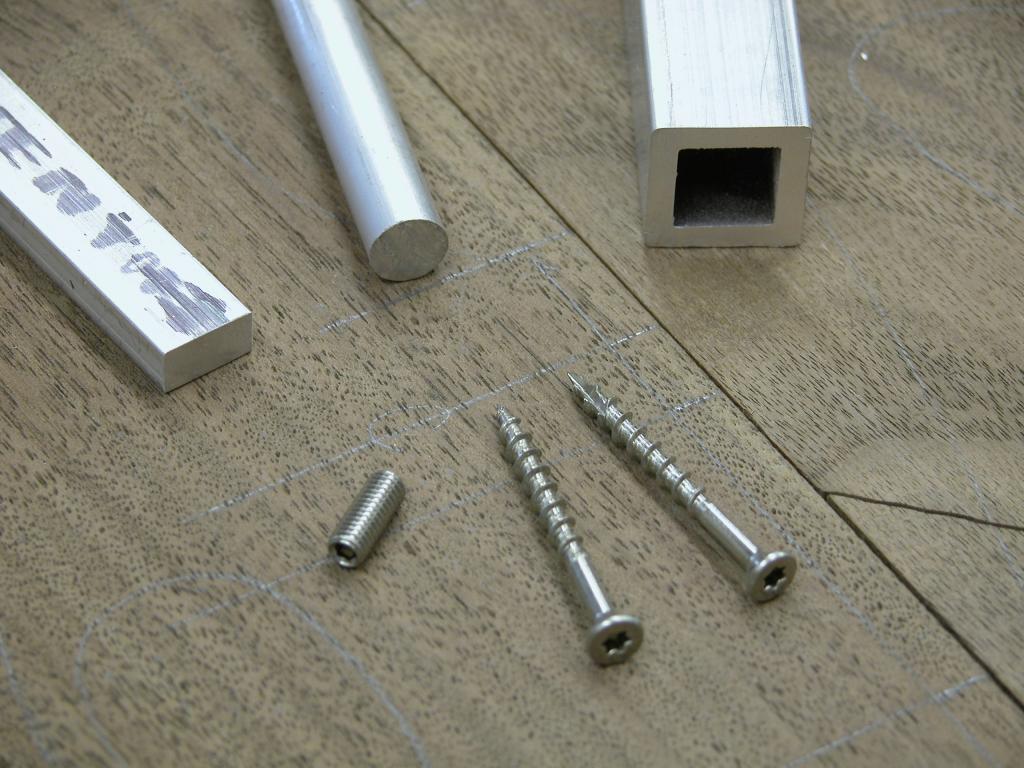
is the material I use. First, some ¾” x ¾” square 6061 thick wall
aluminum tubing. The wall thickness is 1/8”. Next, ½” x ¼” 6061
rectangular aluminum bar stock, and finally, some 3/8” 6061 round
aluminum bar stock. To finish the hardware, a 10-32 x ½” set screw, and
two #6 x 1 5/8 deck screws.
I
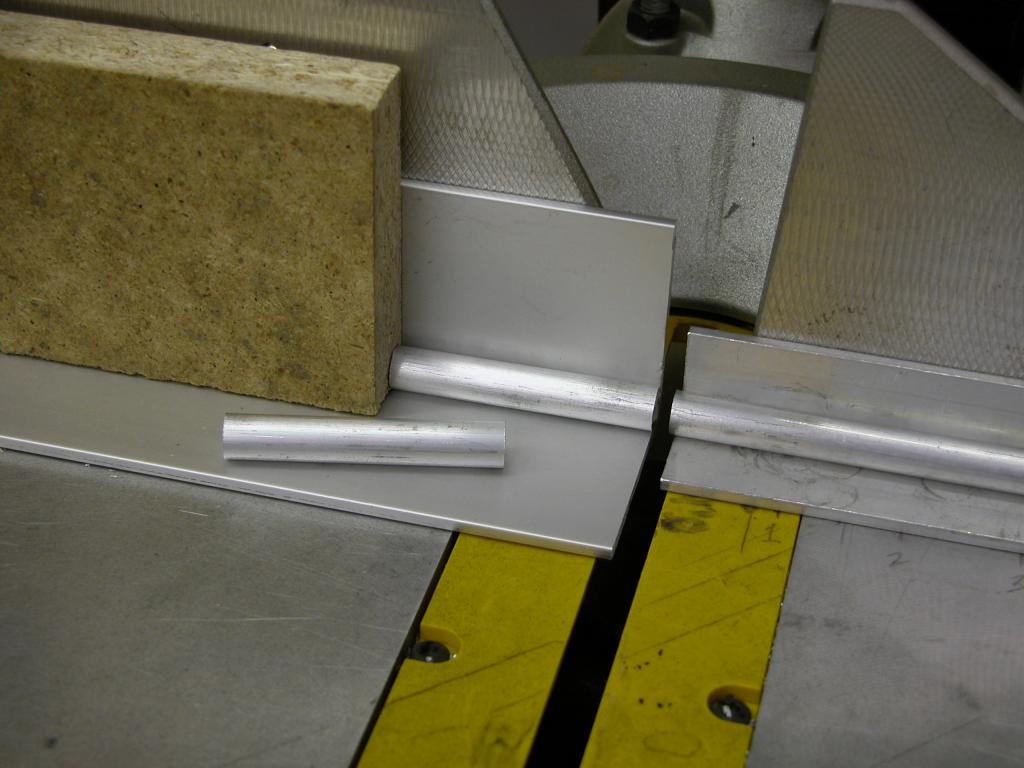
start by cutting all the aluminum parts that I need. I cut the ¾”
square tubing to a length of 3”. Since I usually make more than one
piece at a time, I set up a stop block as shown.

Using the same stop block, I cut the round bar to 2 ¼”.
Next,
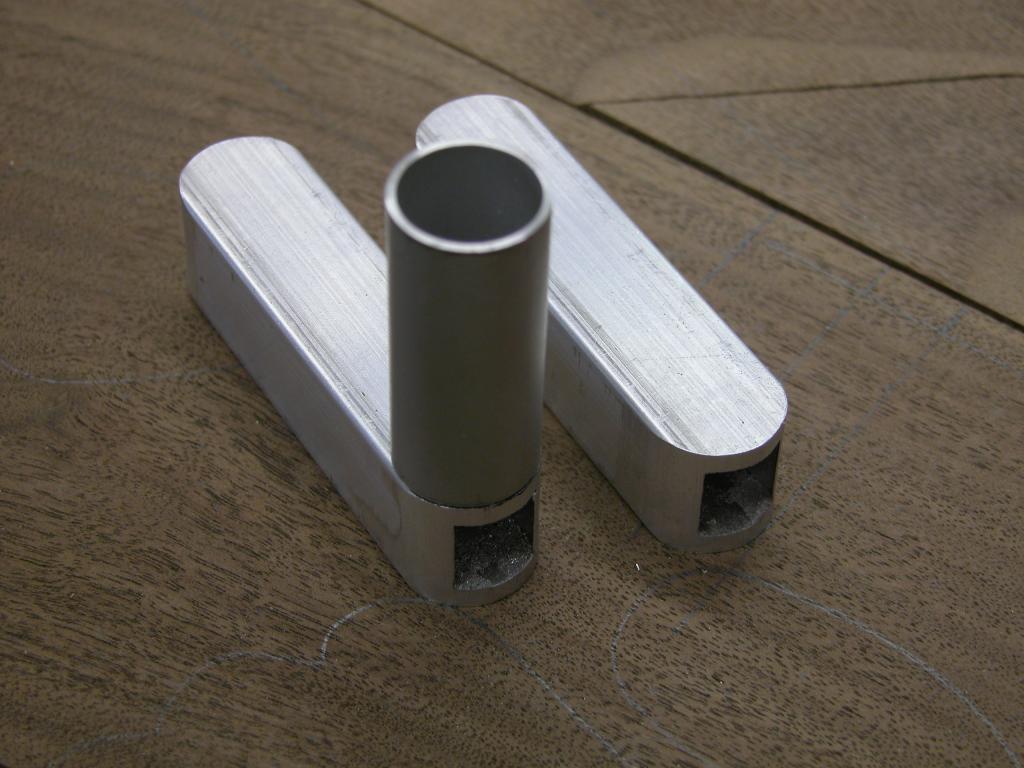
I mark up the square stock for a 3/8” radius on each end. To do this, I
use a sharp scribe, and a piece of ¾” round tubing. You can use marking
fluid to help you see the scribe line. I used a Sharpie for
demonstration purposes.

To begin the shaping of the radius, I use the band saw to remove most of the corners.

Then, using a belt sander, I remove the rest of the stock up to the line I scribed. I begin with an 80 grit belt,
and finish with 120 grit.

Once the radius is completed, I mark all the locations of the holes. I need two at 3/8” for the round bar, two
for the screws, and one for the set screw.


I begin by drilling the holes for the screws. By using a #4 centering bit and the depth stop on the drill press, I
get exactly the countersink I need. I’ve set up a fence on the drill press to help me locate the holes.

I then start the holes for the rods, followed by the single hole on the side for the set screw.
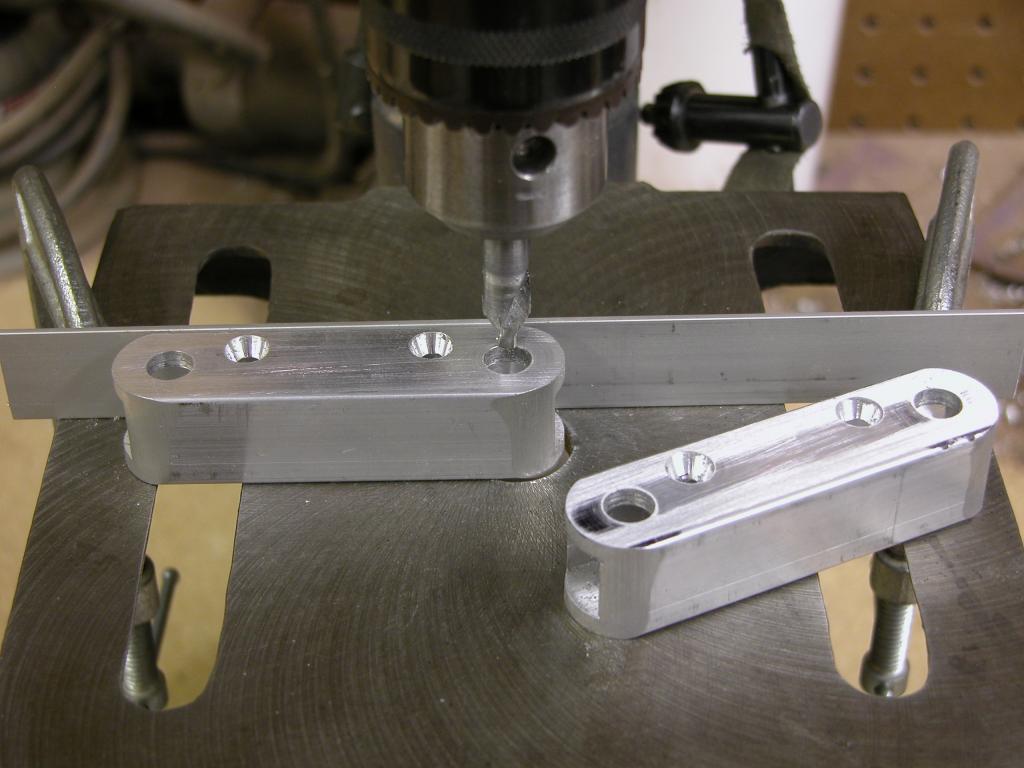


Once all the holes are drilled, I clean up everything with a reamer and a sharp countersink. Using 220 grit
paper, I also deburr the inside of the tubing.


To prepare the round stock, I move to the lathe, and dress each end, adding a slight chamfer, and center drill
one end. I add shallow groves on the other end. This is the end that is epoxied into the cheek piece.


The round bar is an extrusion, and is slightly oversize, so using a live center, I turn it to .372, leaving the
grooved end alone. It will fit tighter into the wood.

Once the round bar is at the proper size, I can cut the rectangular bar. I begin by cutting one end to a 45
degree angle.

I then insert one round bar into the square stock, and mark the rectangular bar.

Now I can set up the stop block and cut all the pieces I need by flipping the bar for each cut.


One more hole to drill and tap for the 10-32 set screw.


To keep the hole straight, I use the drill press and start the tap by hand. I use a cordless drill tp finish the hole.
Don’t forget to use a little cutting fluid to prevent the tap from breaking. Once the hole is drilled and tapped,
I knock off the sharp edges on the belt sander.


After all the parts are cut, drilled, and tapped, I can clean them up and assemble the hardware.


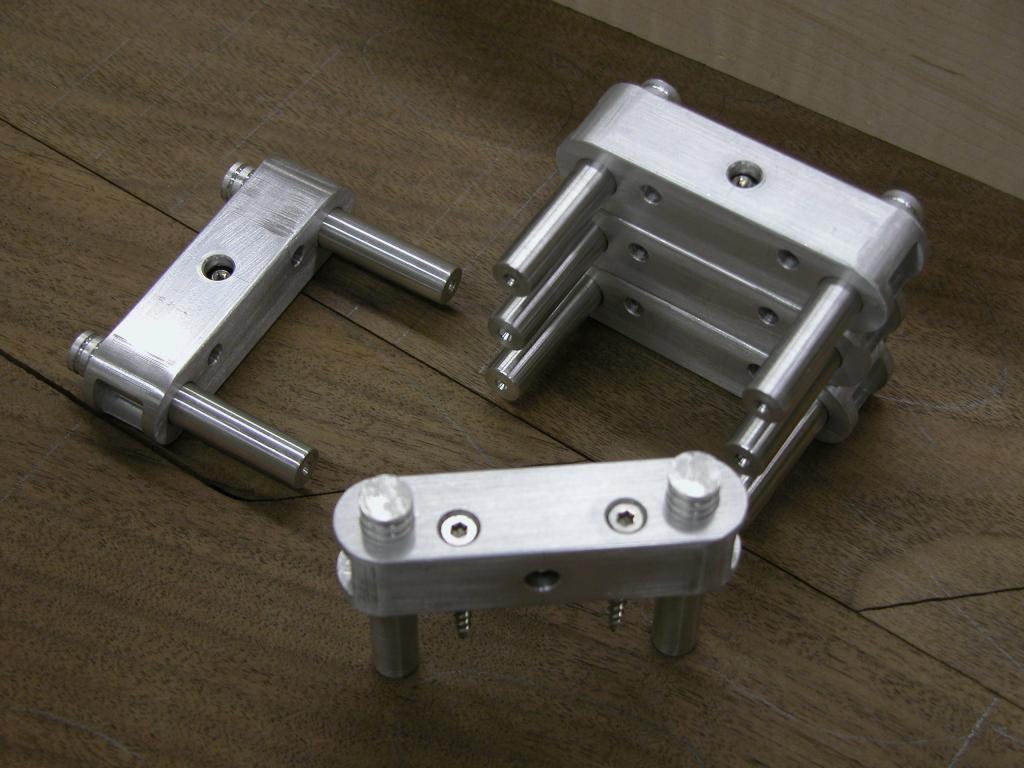
In the next installment, I’ll show you how to prepare the wood blank, and install the comb hardware.
Part 2 Installing the Adjustable Comb Hardware.